Modification
the fog entrance to the exit with ice cubes surrounding it. It did well with short, quick bursts but
not very well with long durations from the fog machine.
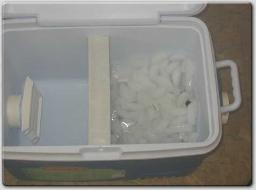
Here is my modification
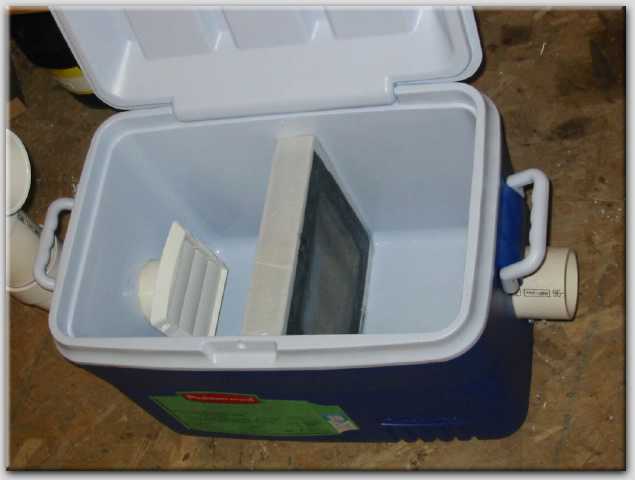
and the fog will need to travel through the ice. To keep the fog
from exiting back up through its entrance, a dryer vent should act
as a one-way check valve for force the fog through the ice and
hopefully chill it better for low lying fog even with long bursts.
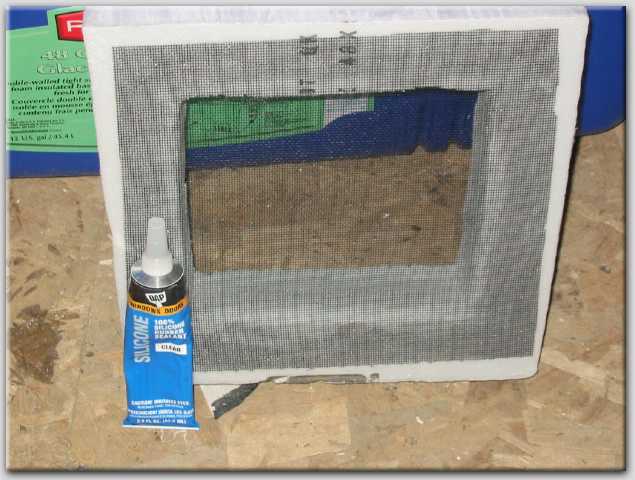
The screen in the divider may not have been necessary, but I was
bored.
I will most likely need a latch or strap to keep the lid down.
incoming fog hole with silicone sealant.
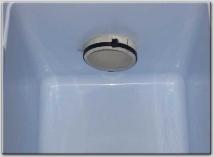
over it so the ice cubes won't slide out of
the ice compartment.
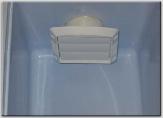
was bored and thought I would give the
fog another passage way instead of just
down through the top of the ice chamber.
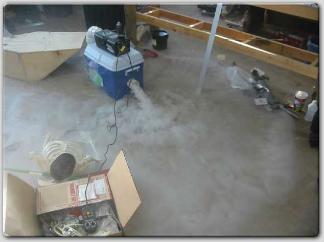
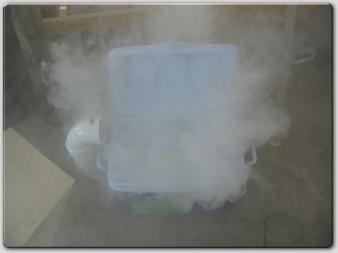
I think things still turned out pretty well as I didn't have
to pulse the fogger to make low lying fog. It was kept
full on (well during the re-heating cycles).
I did have some leakage around the cooler and also at
the initial top entrance when the fogger would spit
spatter a little fog during the re-heating.
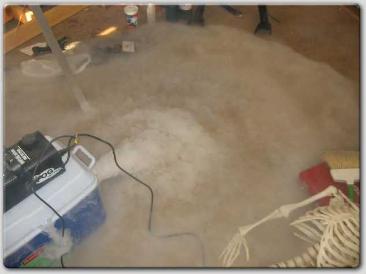
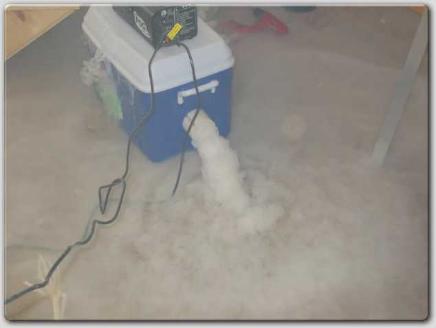
end of playing. As you can see, this fog
isn't cooled yet since it hadn't been forced
thru the ice.