A four channel prop controller with MP3 audio for about $20
2/7/2017 ***please note, as of now, this project is frozen for new development.***
A new replacement project (OctoBanger) supports 8 channels (or 4 if that is all you want).
Thanks, Mike
Check out OctoBanger HERE!
This project will show how to build a 4 channel prop controller with MP3 quality audio for about $20. It will also take about 15 minutes to assemble by anyone with basic soldering skills. The goal of this project is an affordable controller that is easy to use, but versatile enough to power a professional-grade animatronic prop. This controller works great for props such as the classic “monster in a box”, pneumatic ground breakers, or whatever your twisted mind can dream up!
Goals:
- Affordable
- Easy to Assemble
- Compact Size
- Simple Enough for a Beginner
- Configurable Enough for Professional Use
This controller will use an Arduino Uno/Nano (or clone) 5v with the
Atmel AT328p processor. Configuration options and sequence data will be
stored using the AT328p’s onboard 1k eeprom. The controller will be
programmable using a custom PC-based programming application. The
FourBanger has variable resolution which allows for shorter sequences of
high resolution, or long sequences of low resolution. Here are the
available resolutions in FPS (frames per second) and their corresponding
maximum length:
25 FPS = 1:18
20 FPS = 1:38
10 FPS = 3:16
5 FPS = 6:32
The default is set to 20 FPS which allows for over a minute and a half of recording time.
Shopping List:
- Arduino Mini/Nano/Uno AT328p (or clone) 5v
*** IF YOU ARE AN ARDUINO NEWBIE, USE THE ARDUINO UNO, I REPEAT- USE THE UNO!!! ***
Using a mini/nano as your “first” Arduino seems to kick the technical behind of 90% of people. If you are in the 10%, go for it. If not, USE the Arduino UNO. The 12v power adapter will plug right into the power socket on the Uno, and it has a bunch of 5v and Gnd connection pins. If you must use a Nano, I am starting to find that an external LM7805 or equivalent is needed in order to achieve stable performance. Bottom line, use an UNO. Did I mention you might want to use an UNO?
- 4 Relay Module ***Note, these come in 5v and 12v models.
The initial prototypes I built used the 5v versions, but the 12v models
are becoming more popular. The reason is this: The 12v
version may be run directly from a 12vdc adapter, and will not put any
drain on the Arduino’s limited 5v regulator. Personally, I still use
the heck out of the 5v modules without any problems. The diagrams and
examples in this project are all using the 5v relays.
- PIR Sensor (or just use button trigger)
- Serial MP3 Module by Catalex w/SD Micro card (unless you do not
need audio) **note, as of 2/15/2016 the price on these has dropped to
under $5!
- 12vdc REGULATED Power Adapter
Please see this doc for some additional part details. As of 2/15/2016, the cost of the parts required to build a complete Uno-based controller was $19.09 shipped, including the power adapter.

An important safety note regarding this project: before attempting the wiring of this project, you should first download the zip package (link below) and follow the procedures outlined in the uploading_firmware.pdf document. This will test your PC’s ability to run the software, and it will ensure that your Arduino is running the right code before wiring it up. If you wire according to this project, but your Arduino is running an unknown sketch when you power it up for the first time, you could smoke your Arduino by mistake!
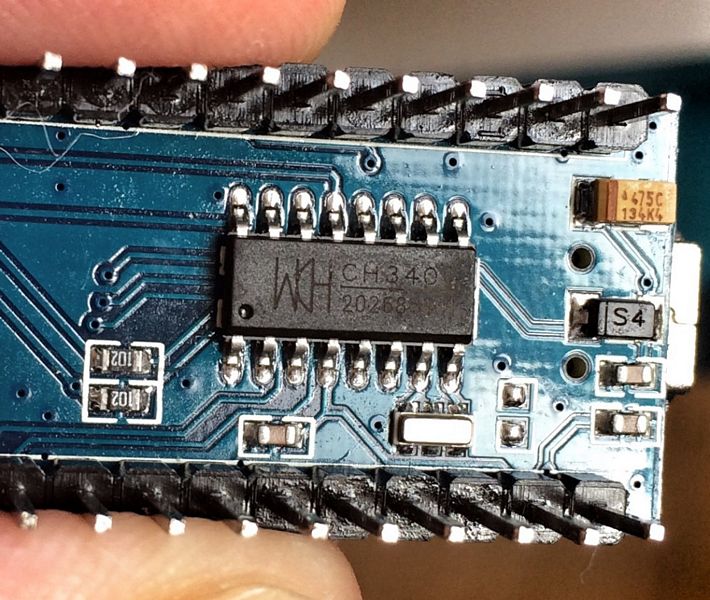
Nano/Uno Clones
If you are using a nano/uno clone, you may encounter the need for the
appropriate drivers. One of the more commonly used ones may be
downloaded by clicking the image below:
Example Wiring Diagram for UNO (using a 5v relay module)

This is the FREE FourBanger configuration application. This PC-based application interface allows for much more precision timing than trying to program a controller using a manual keypad. 2/15/2016 I am weeding out all references to the manual keypad controller. It was more trouble than it was worth, so I am discouraging people from trying to go that route. Once you use the PC app a few times, you will see how easy it is to use.
The interface also contains a built-in utility for uploading the included firmware to your Arduino (plus a few other gizmos)

Troubleshooting and Best Practices
1/17/2017 UPDATE: After a long weekend of testing the new Octo-Banger project that will soon supersede this one, I believe I found a fix to help with the sporadic “scare track plays in a loop” bug. At the point in the code where the controller tells the Catalex module to play the ambient audio in a loop, I added a Stop() command and a short pause. This corrected the issue during my testing. I updated the hex file in the main download package, as well as the source code files linked to on this page below.
Since this project involves using a microcontroller to switch electrical devices on and off, I would suggest taking the time to read up on this subject. Considerations for your controller will largely depend on the types of devices you want to turn on and off. There are a multitude of sites dedicated to these topics. Terry King’s Arduino pages are a great place to start:
https://docs.arduino.cc/learn/electronics/power-pins
https://www.instructables.com/How-to-use-any-relay-with-your-arduino-the-safe-wa/
Understanding the concepts in the pages above will help ensure the success of your project.
Arduino Source Code
I packaged this project up so that those who don’t want to mess with the
actual Arduino code (most people from what I have seen) do not have to.
If you are one of the curious few who wants to “peek under the hood”,
the Arduino source is available HERE
I never originally intended to share this code, but many folks have
asked so here it is. Please keep in mind that I do not plan on being
anyone’s personal Arduino tutor, spirit guide, guru, etc.. There are
plenty of other sites that would be happy to fill that role 🙂
If this project has helped you to create an army of killer props at a
fraction of the normal cost, and you are feeling like sharing a fraction
of a fraction of all that $$$ you just saved, we’d appreciate your
kindness! Your generosity will help keep this site up and running.

This project is what it is. As with any other freeware project, I receive a continuous stream of requests to make it do this and make it do that. If it does not meet your expectations, all I can do is remind you that it is free.
Cheers