Bourno's How-To Build a Skelerector Page
Page 2 - Front Bar Assemblies and Rotating Bar
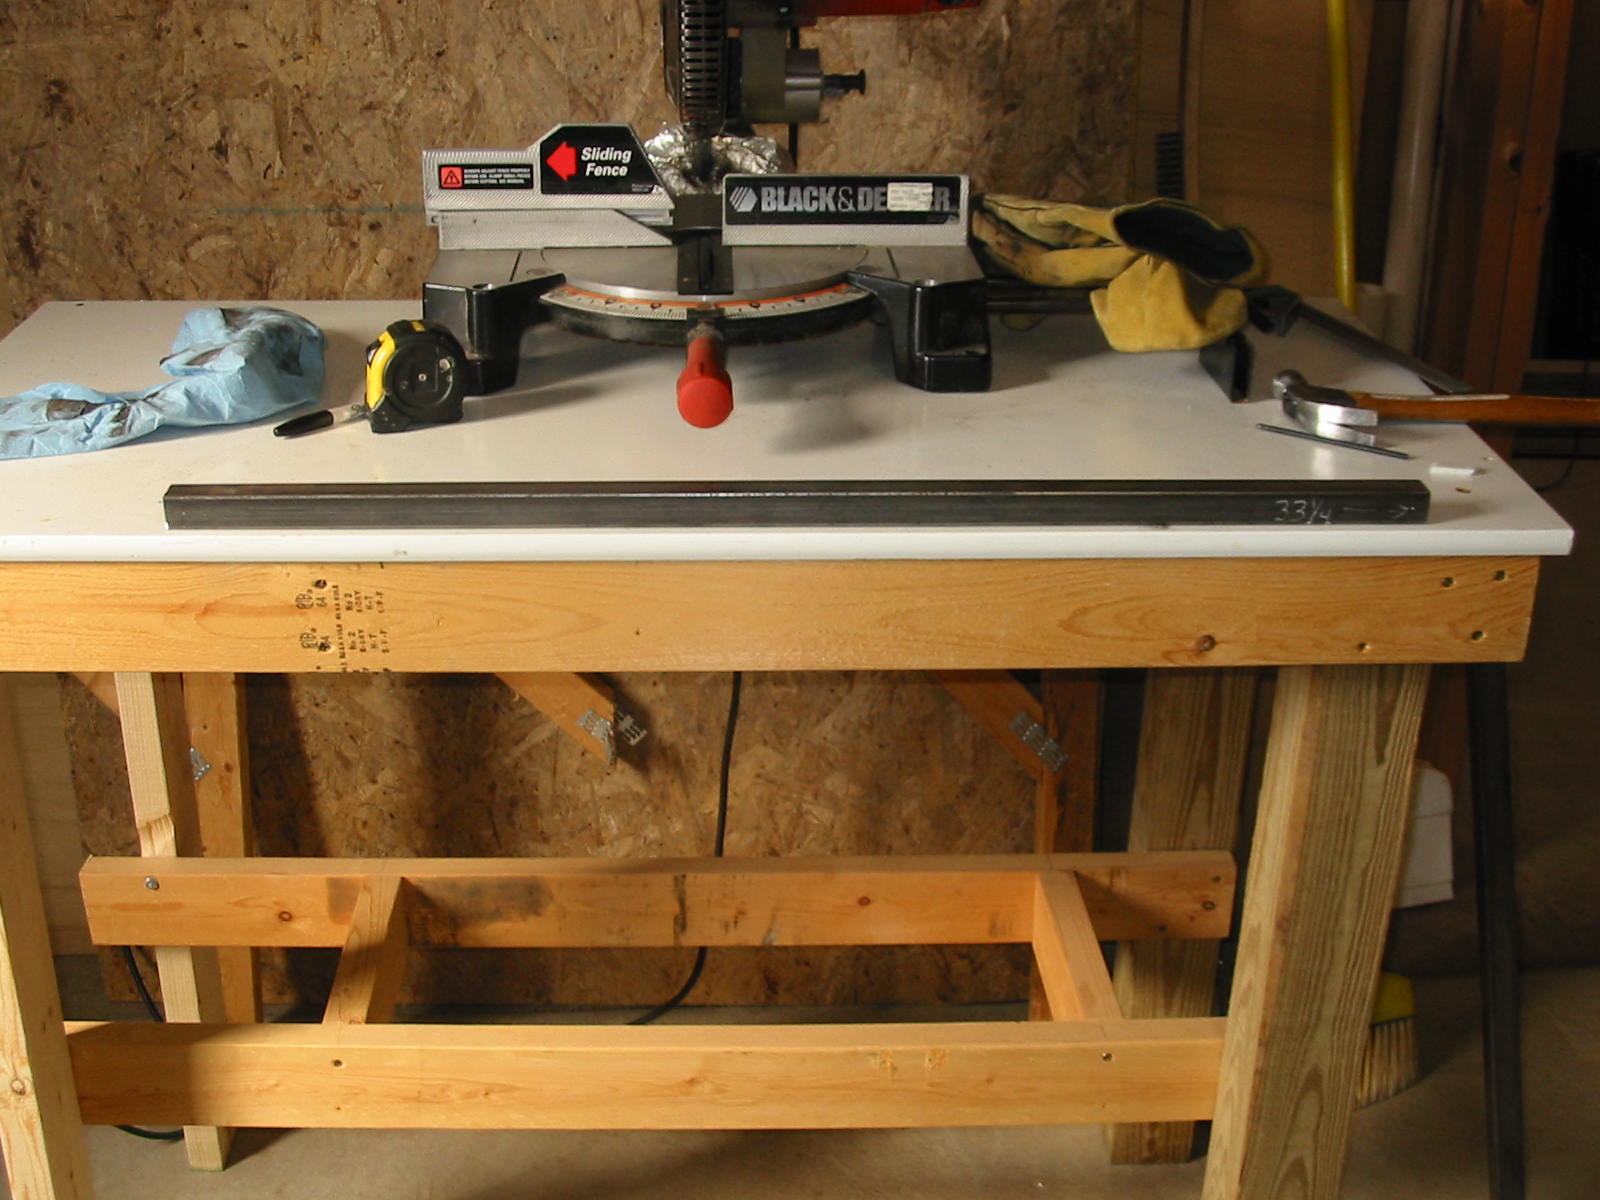
The front bars and attachment pieces are made out of 1" square tubing either 16ga or
14ga material.
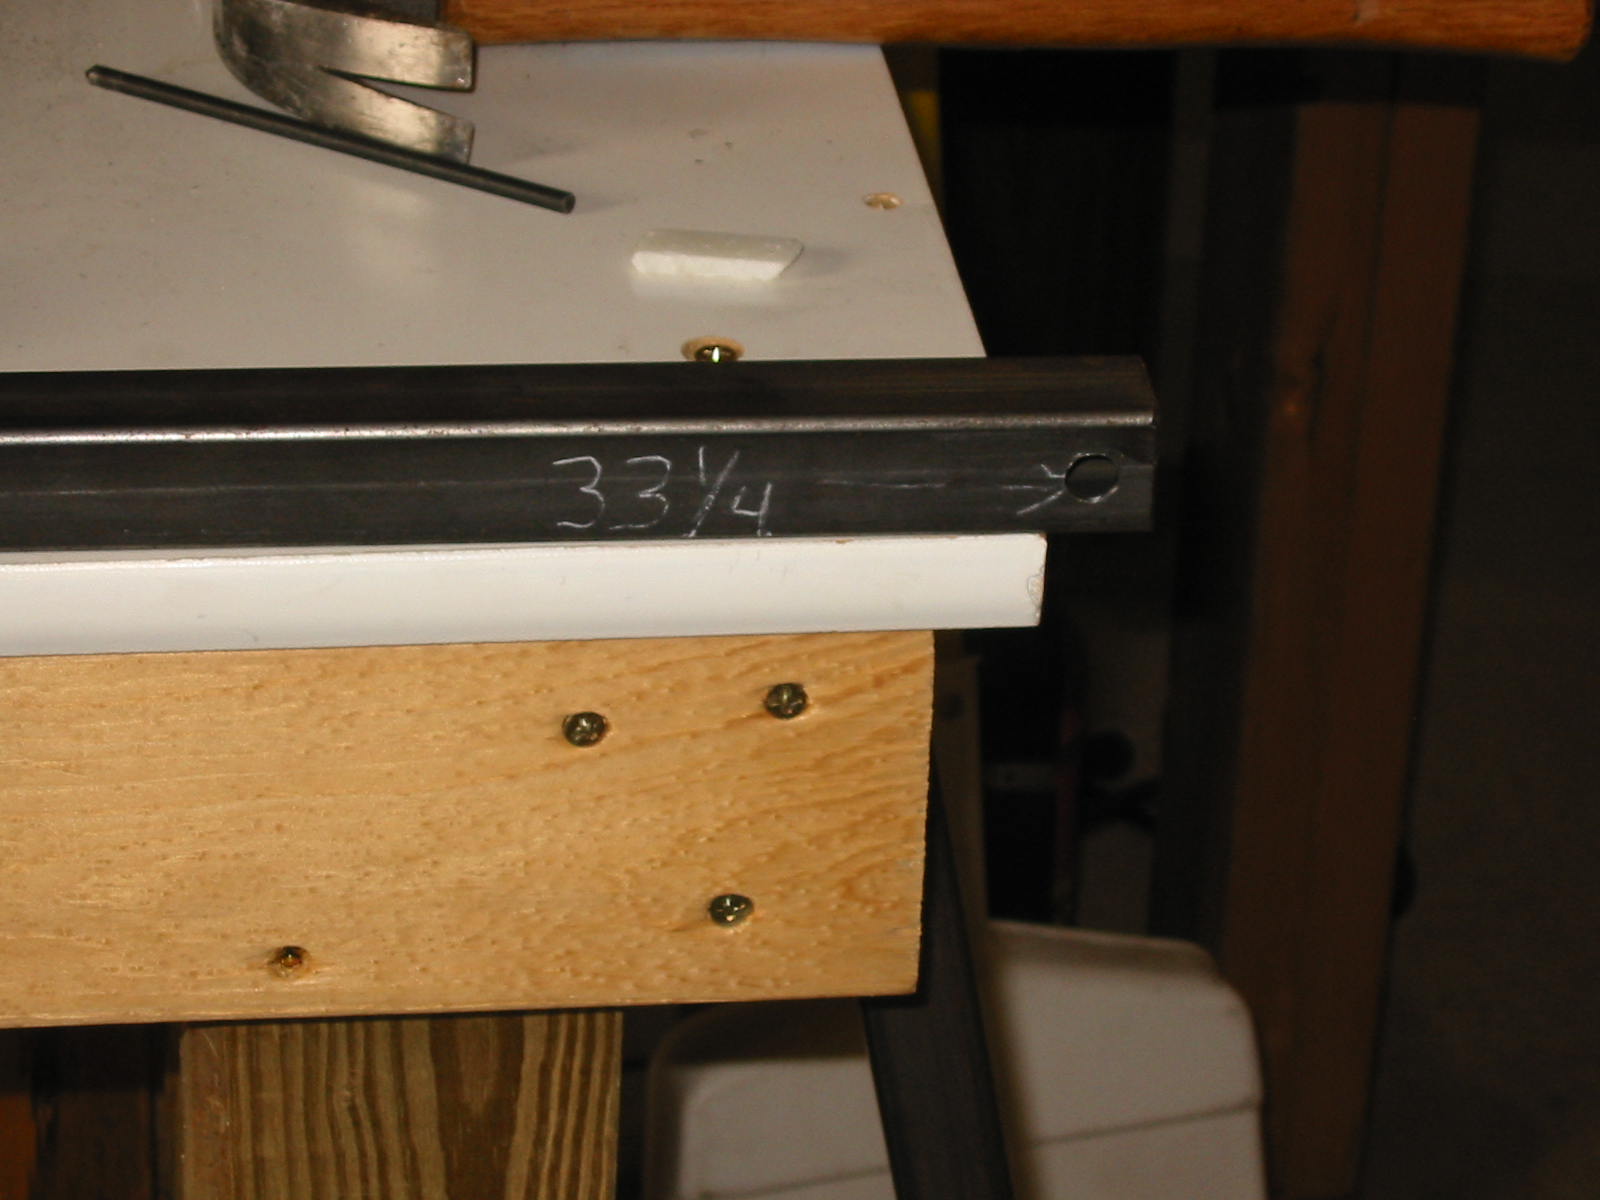
(2) Front bar tube length - 34-1/4" of 1" square tubing with 3/8" holes in 1/2" on both
ends making them 33-1/4" apart.
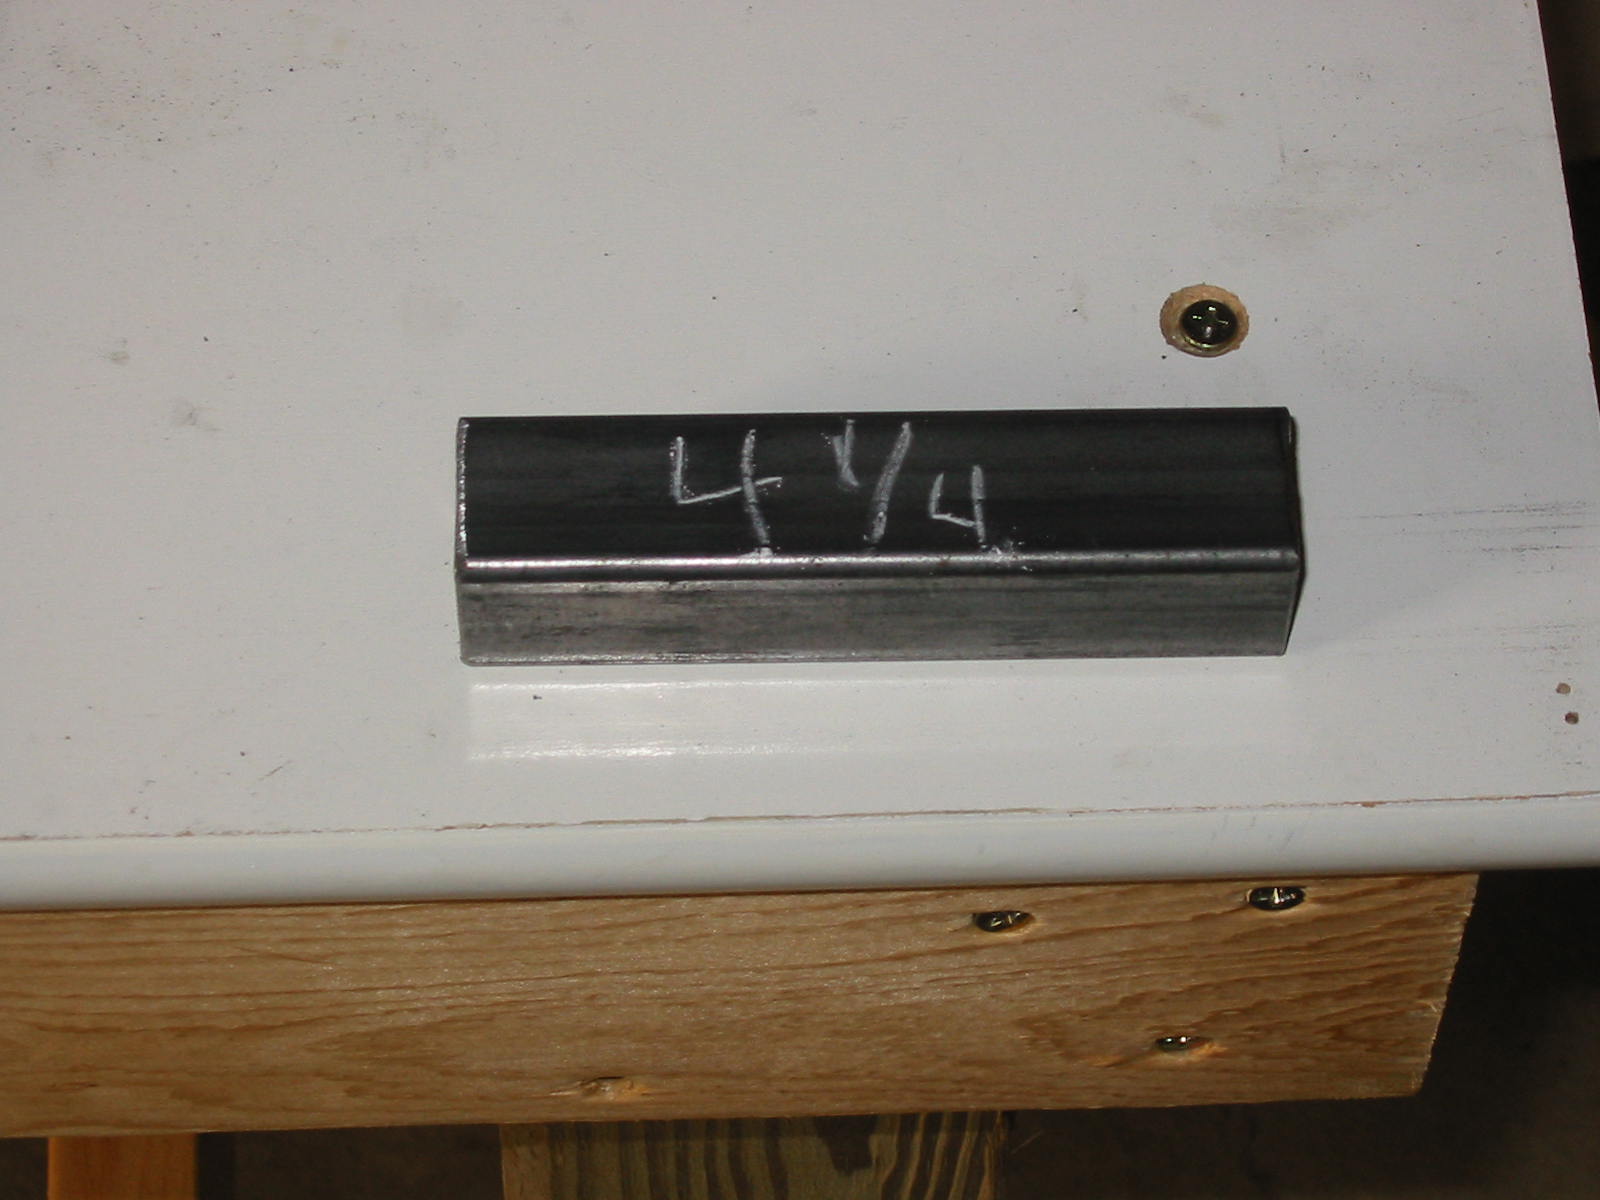
(2) Attachment pieces - 4-1/4" of 1" square tubing. These are for zip tying the upper
leg piece to.
(1) Rotating bar - 18-5/8" of 1" square tubing
(2) 3/8" washers
(2) 3/8" nuts
Front Bar Assembly Pictures
The 4-1/4" attachment piece is welded 3/4" from the
center of the 3/8" hole.
As I mentioned on the Intro page, I substituted 3/8"
bushings where the 4 - 3/8" holes were on the front
bars.
You can leave your bars with the 3/8" holes if you
wish to. As that makes building quicker.
Rotating Bar - this bar will be bolted to the front bars during final assembly and
also the lifting bar will be welded to this rotating bar on Page 4.
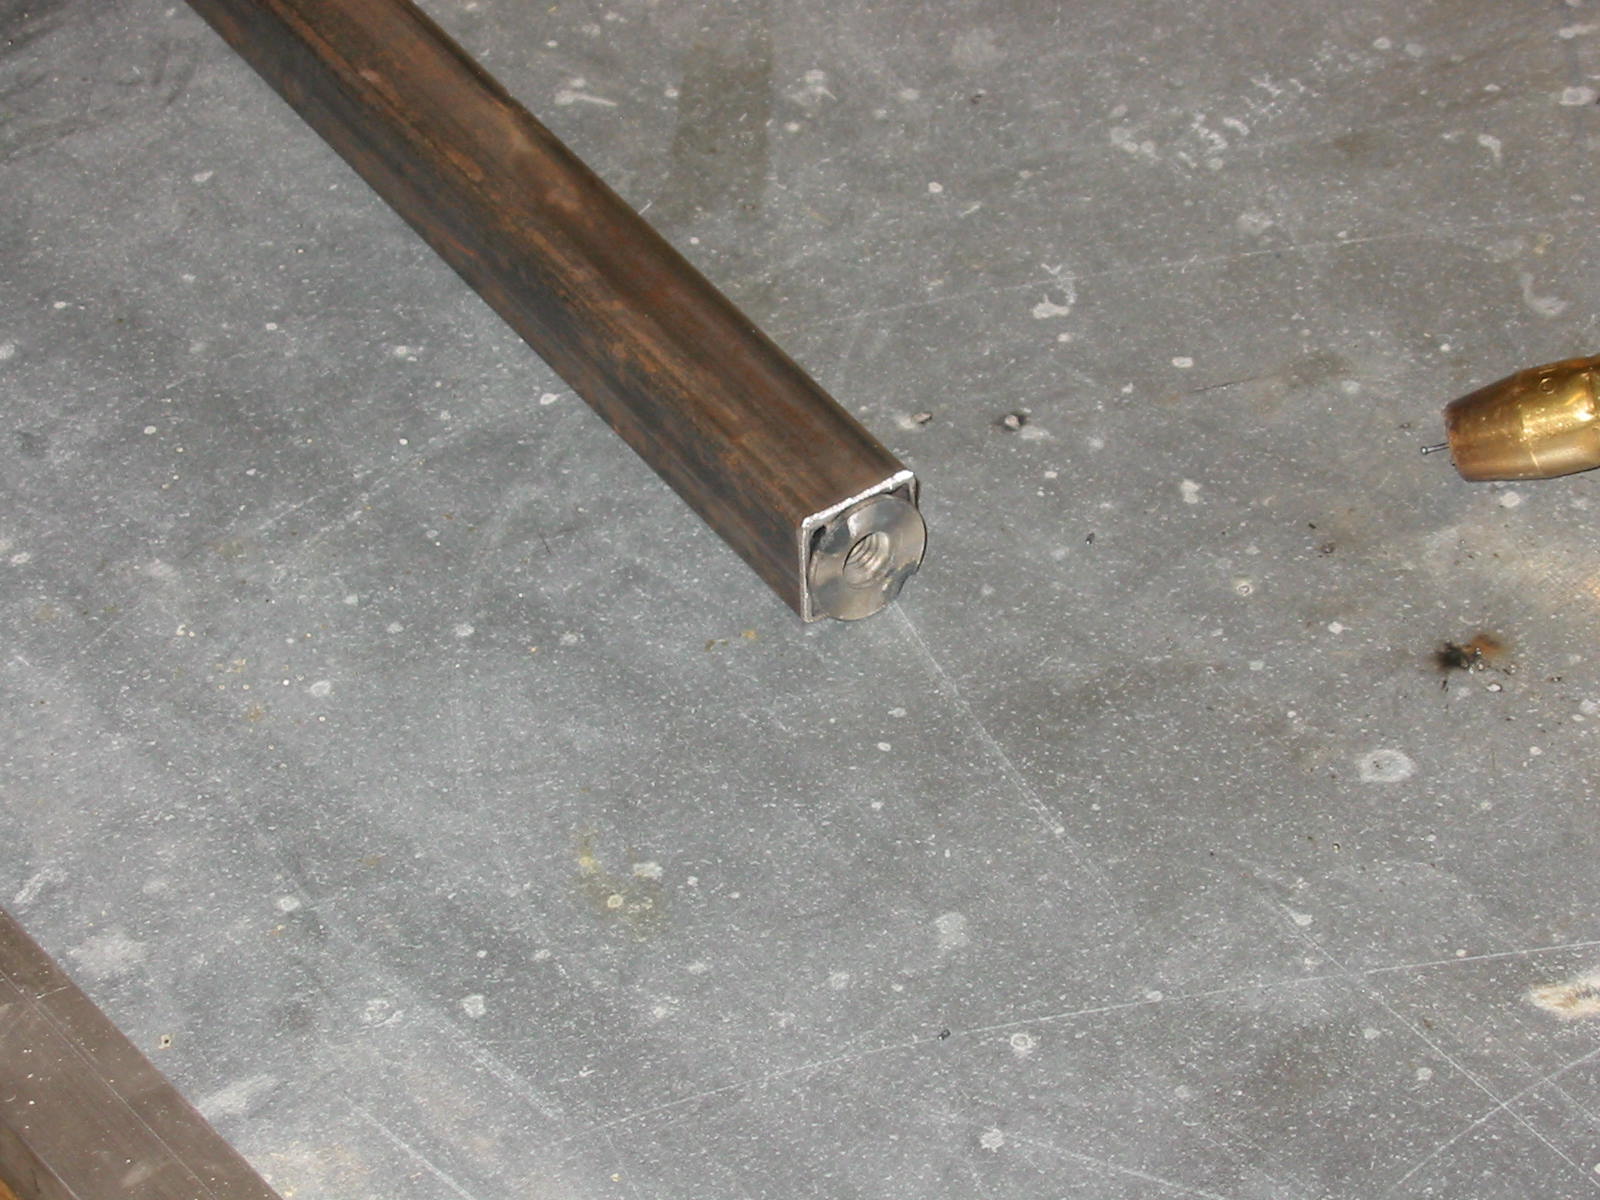
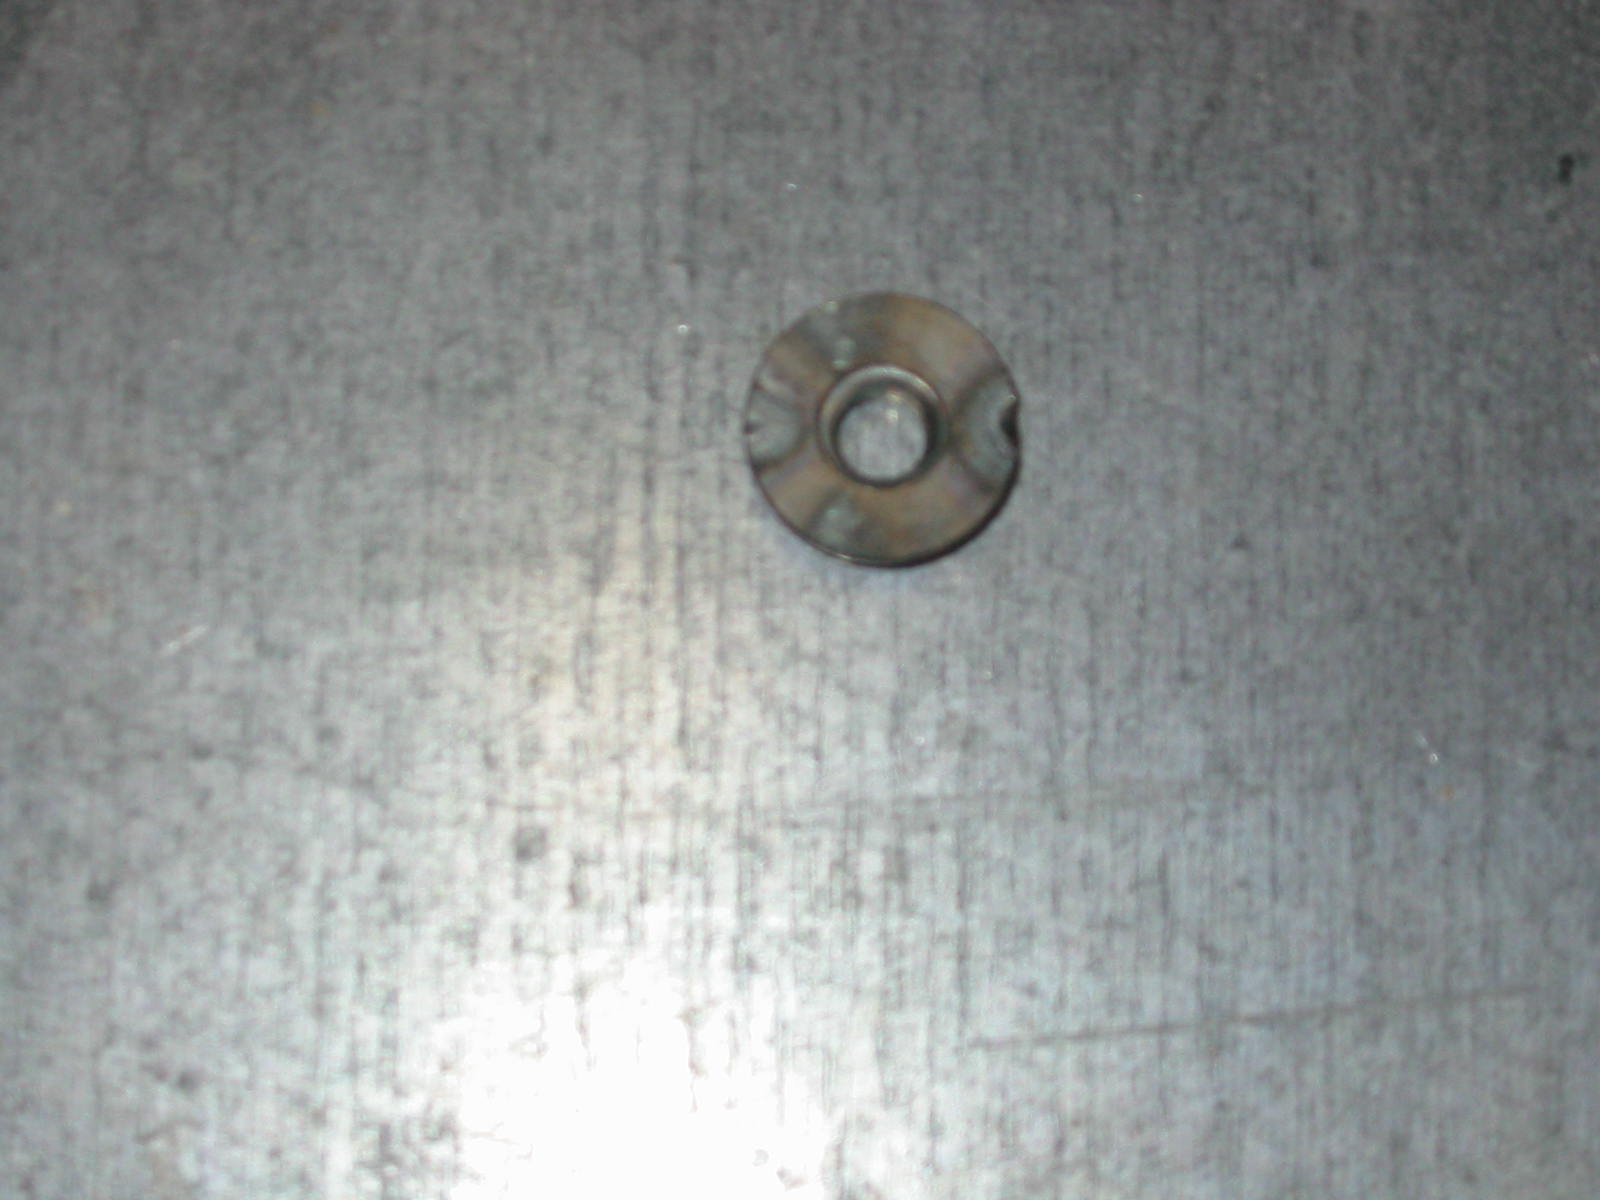
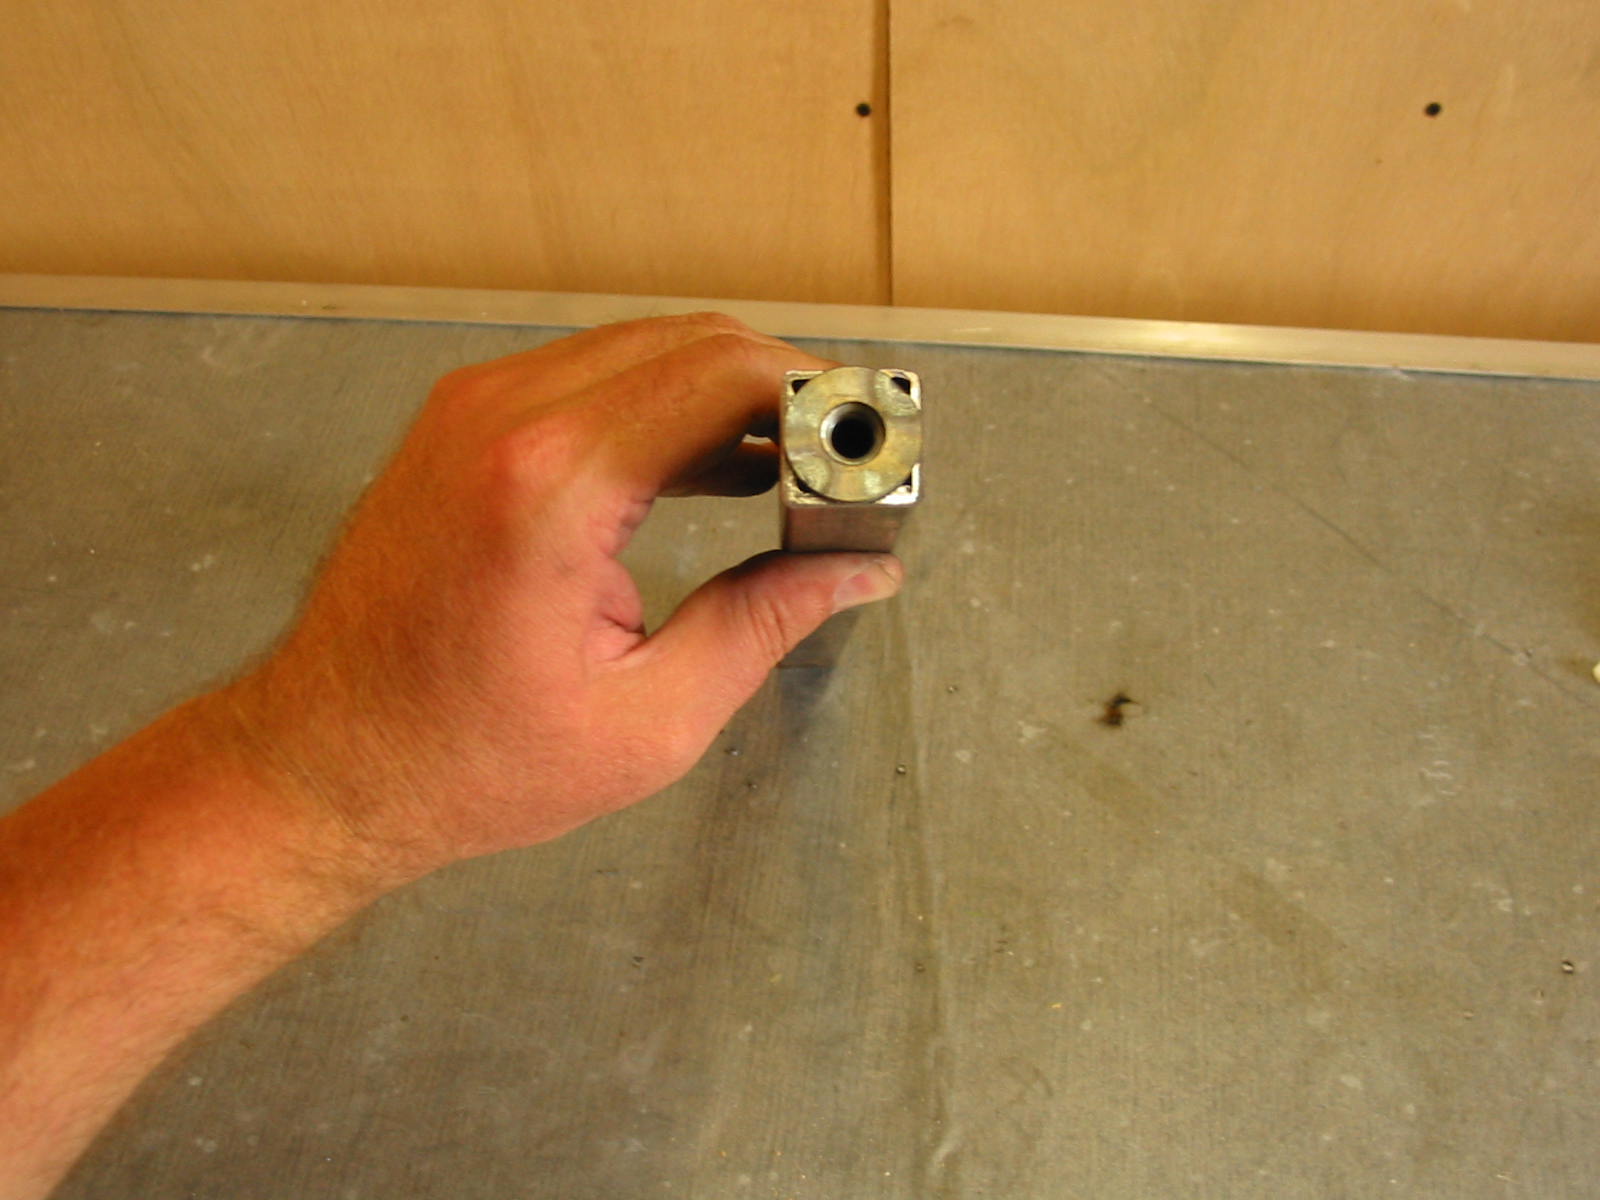
A set of washer/nuts are added to the ends of
the rotating bar. These pieces are shown
below.
This allows a bolt to go thru the front bar upper
hole and into this bar. The shoulder of the bolt
will tighten up to this nut which allows the bolt
and rotating bar to move freely later on.
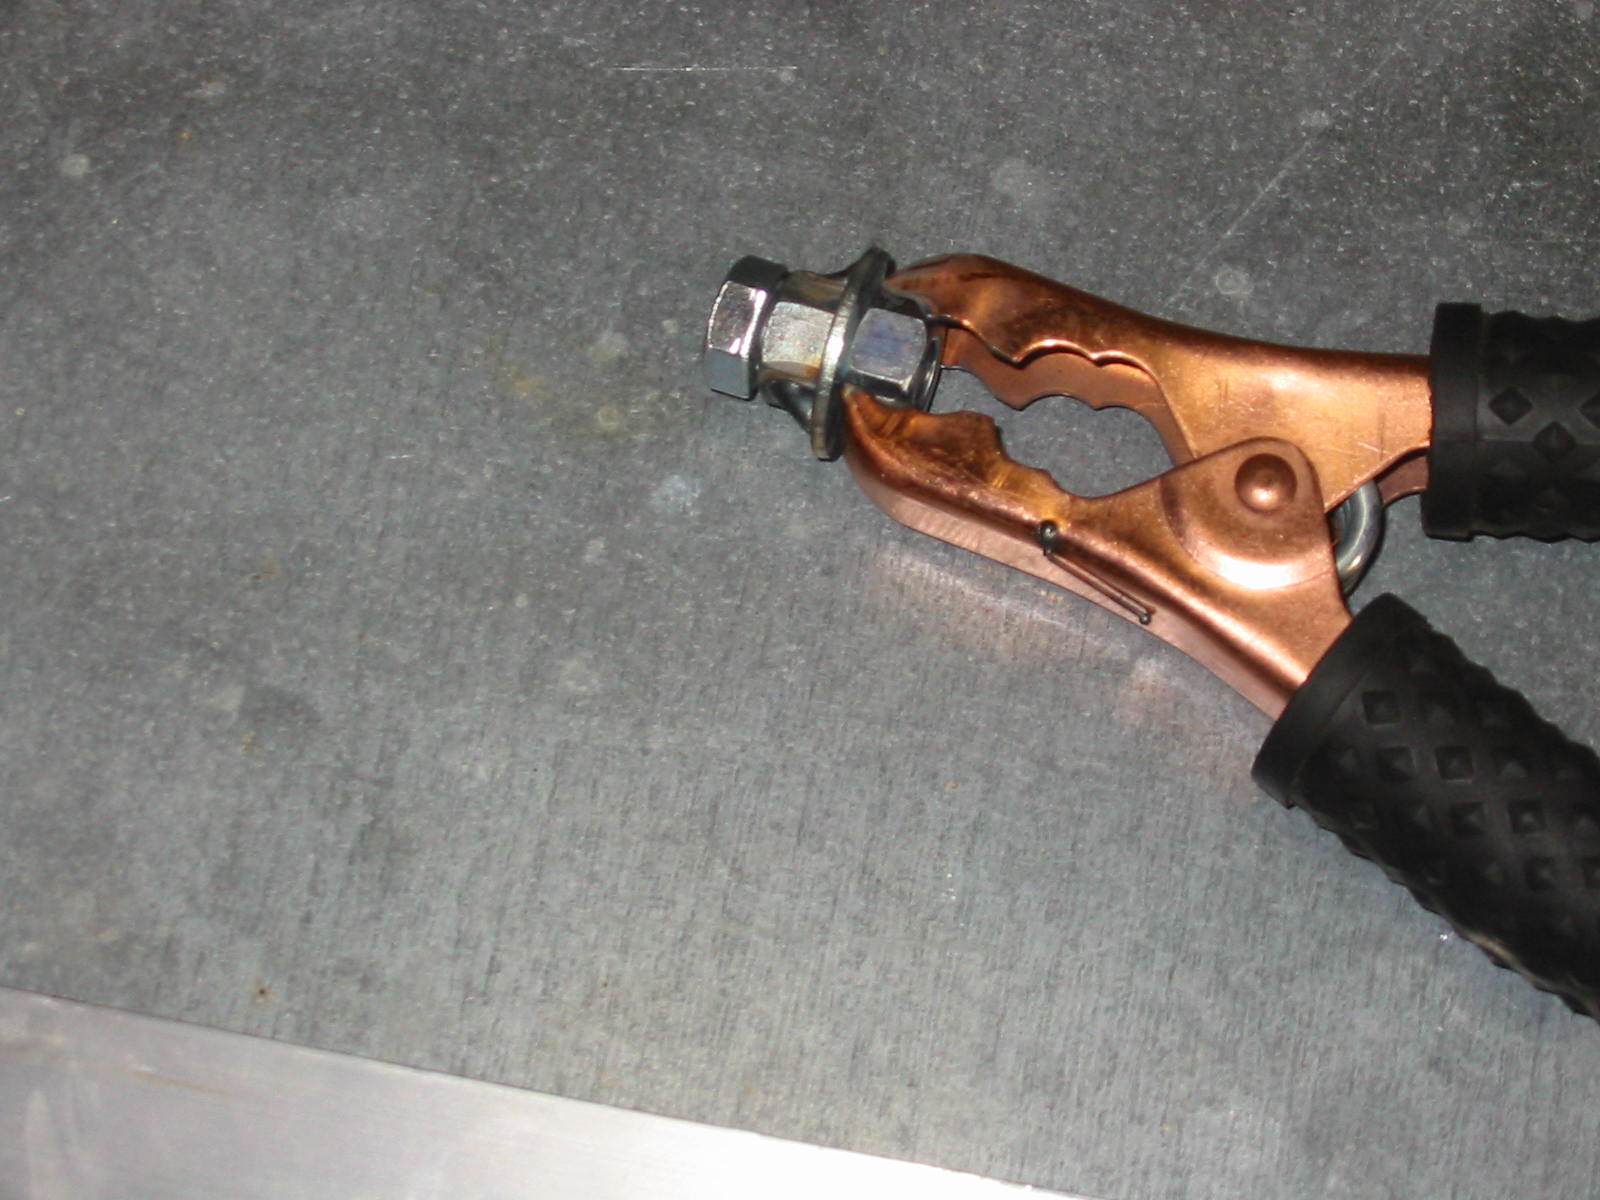
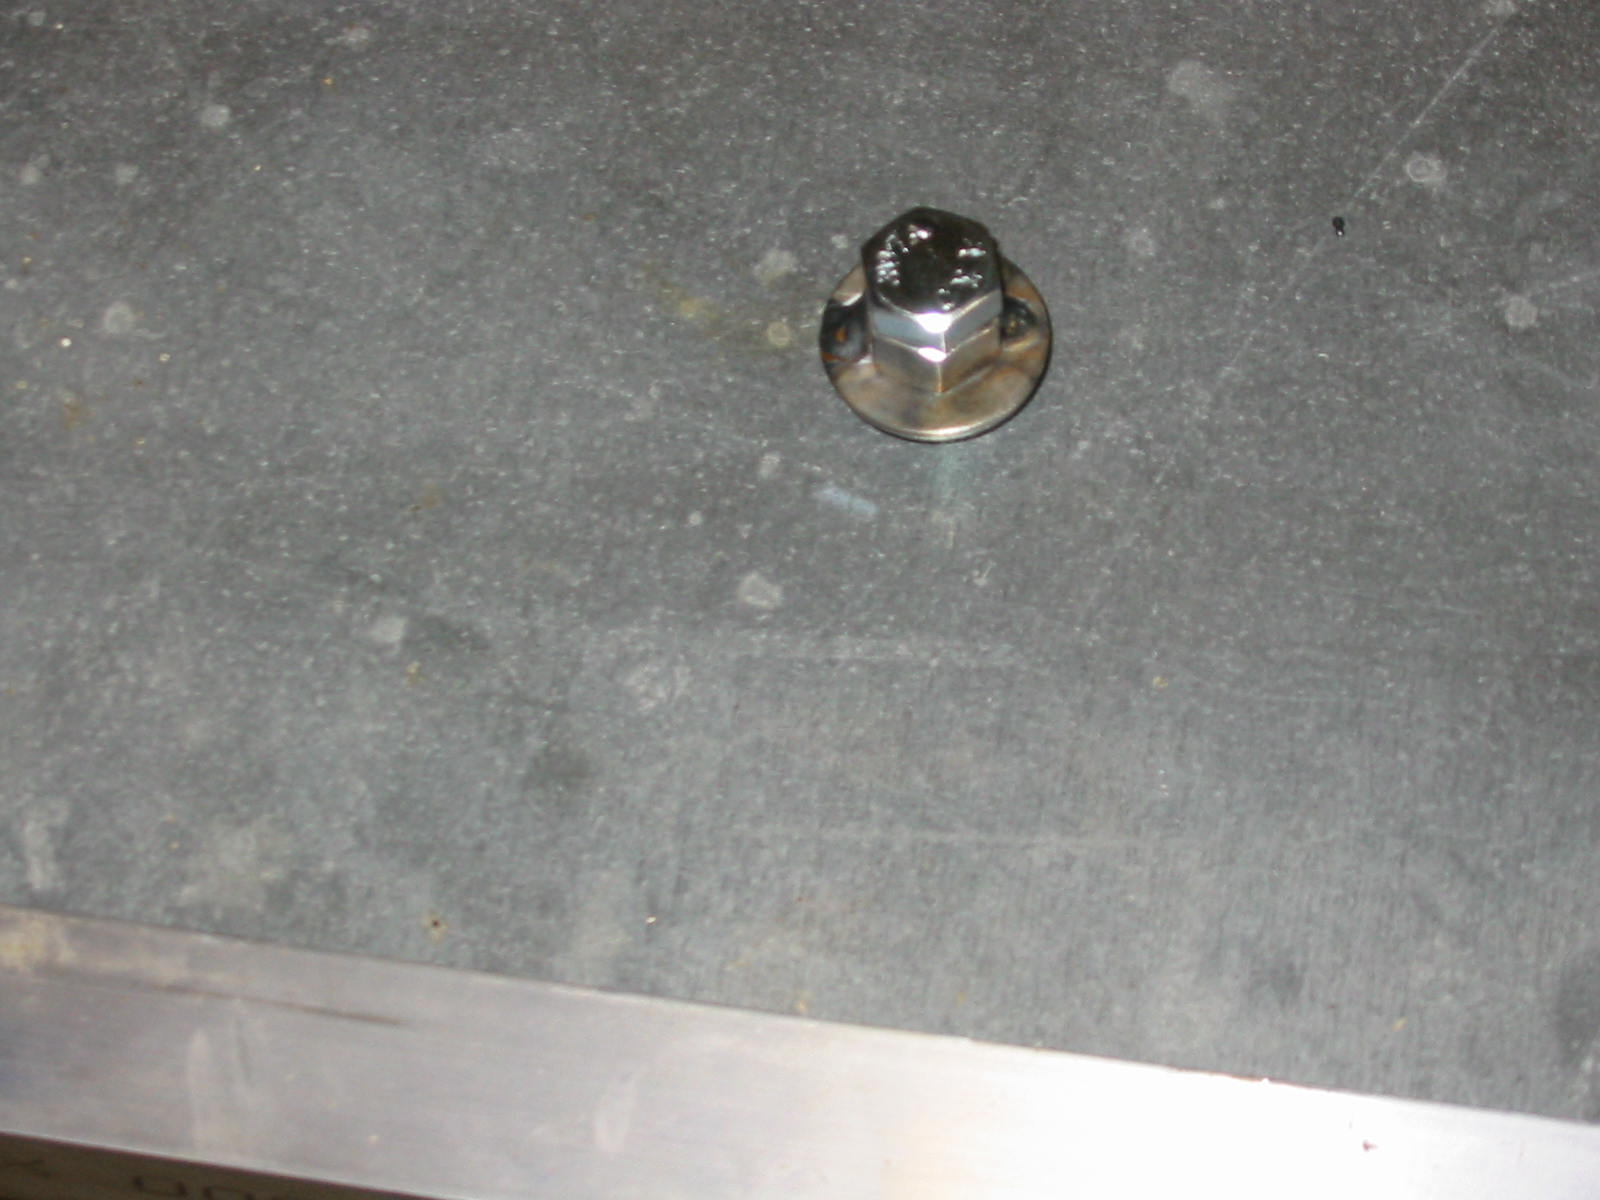
The washer/nut assembly is started by threading a 3/8" nut (the one
that will welded) onto a 3/8" bolt. Add the 3/8" washer and then
another 3/8" nut (not welded). Center the bolt to the washer as best as
you can, then weld the nut nearest the bolt to the washer. I make two
good welds on opposite sides of the nut.
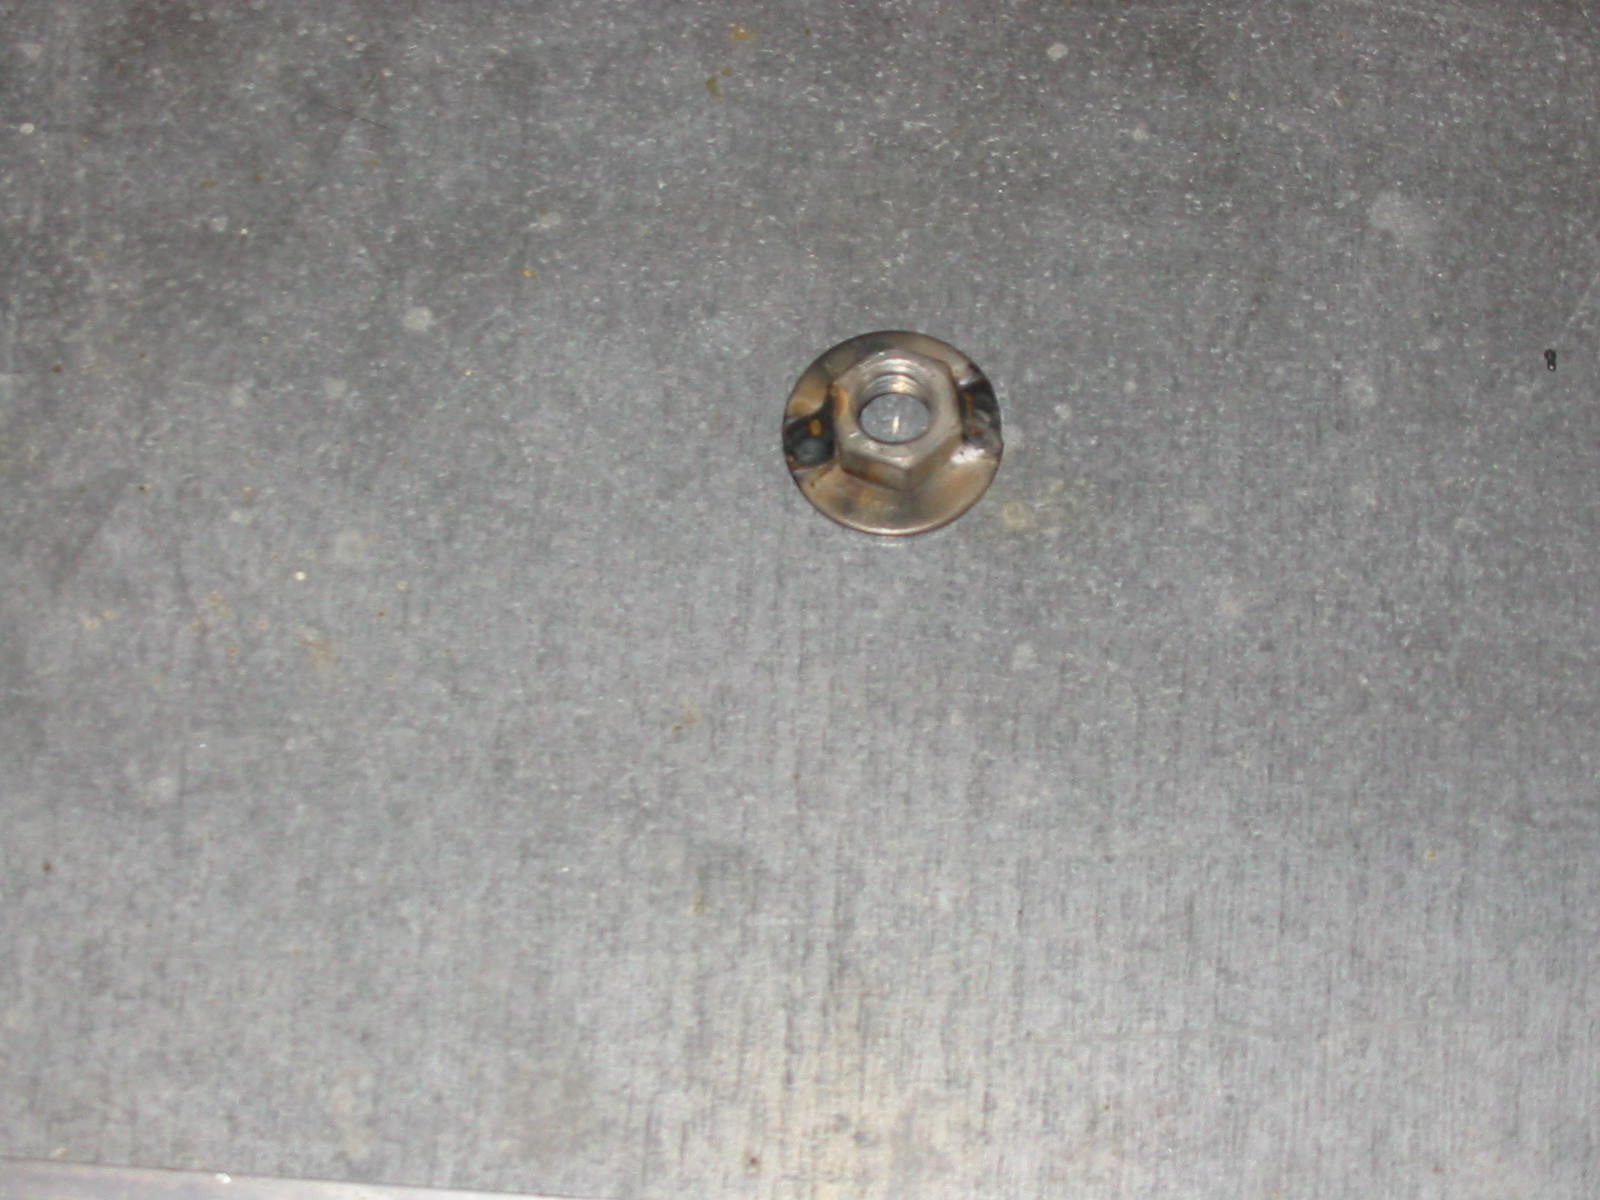
Let the parts cool and take them apart.
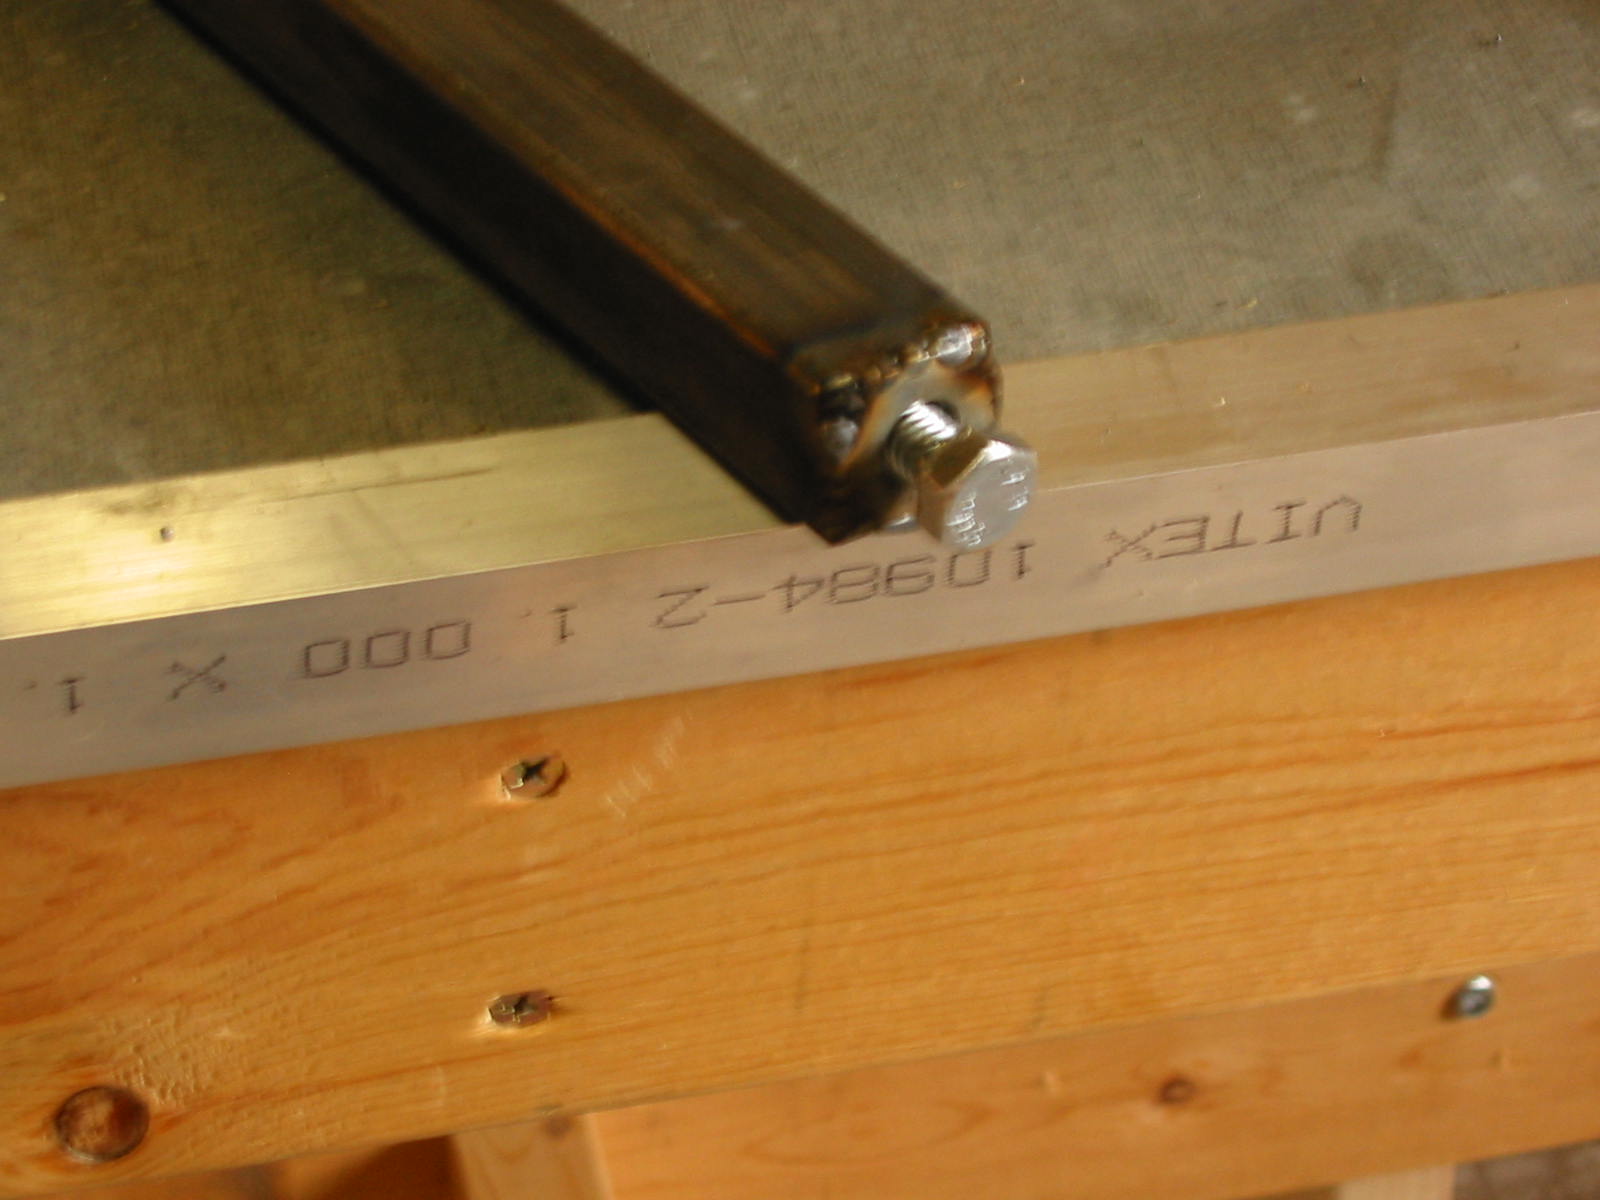
Weld a washer/nut assembly on each end of the rotating bar with the nut
towards the center. I temporary add a bolt so none of the weld could splatter
into the nut threads. After cooling, take the bolt out and smooth the weld
across the washer surface with a grinder for assembly later.
Scroll back up to the top and head onto the next page.