Bourno's How-To Build a Skelerector Page
Page 7 - Pneumatics and the skeleton
Assembly Pictures
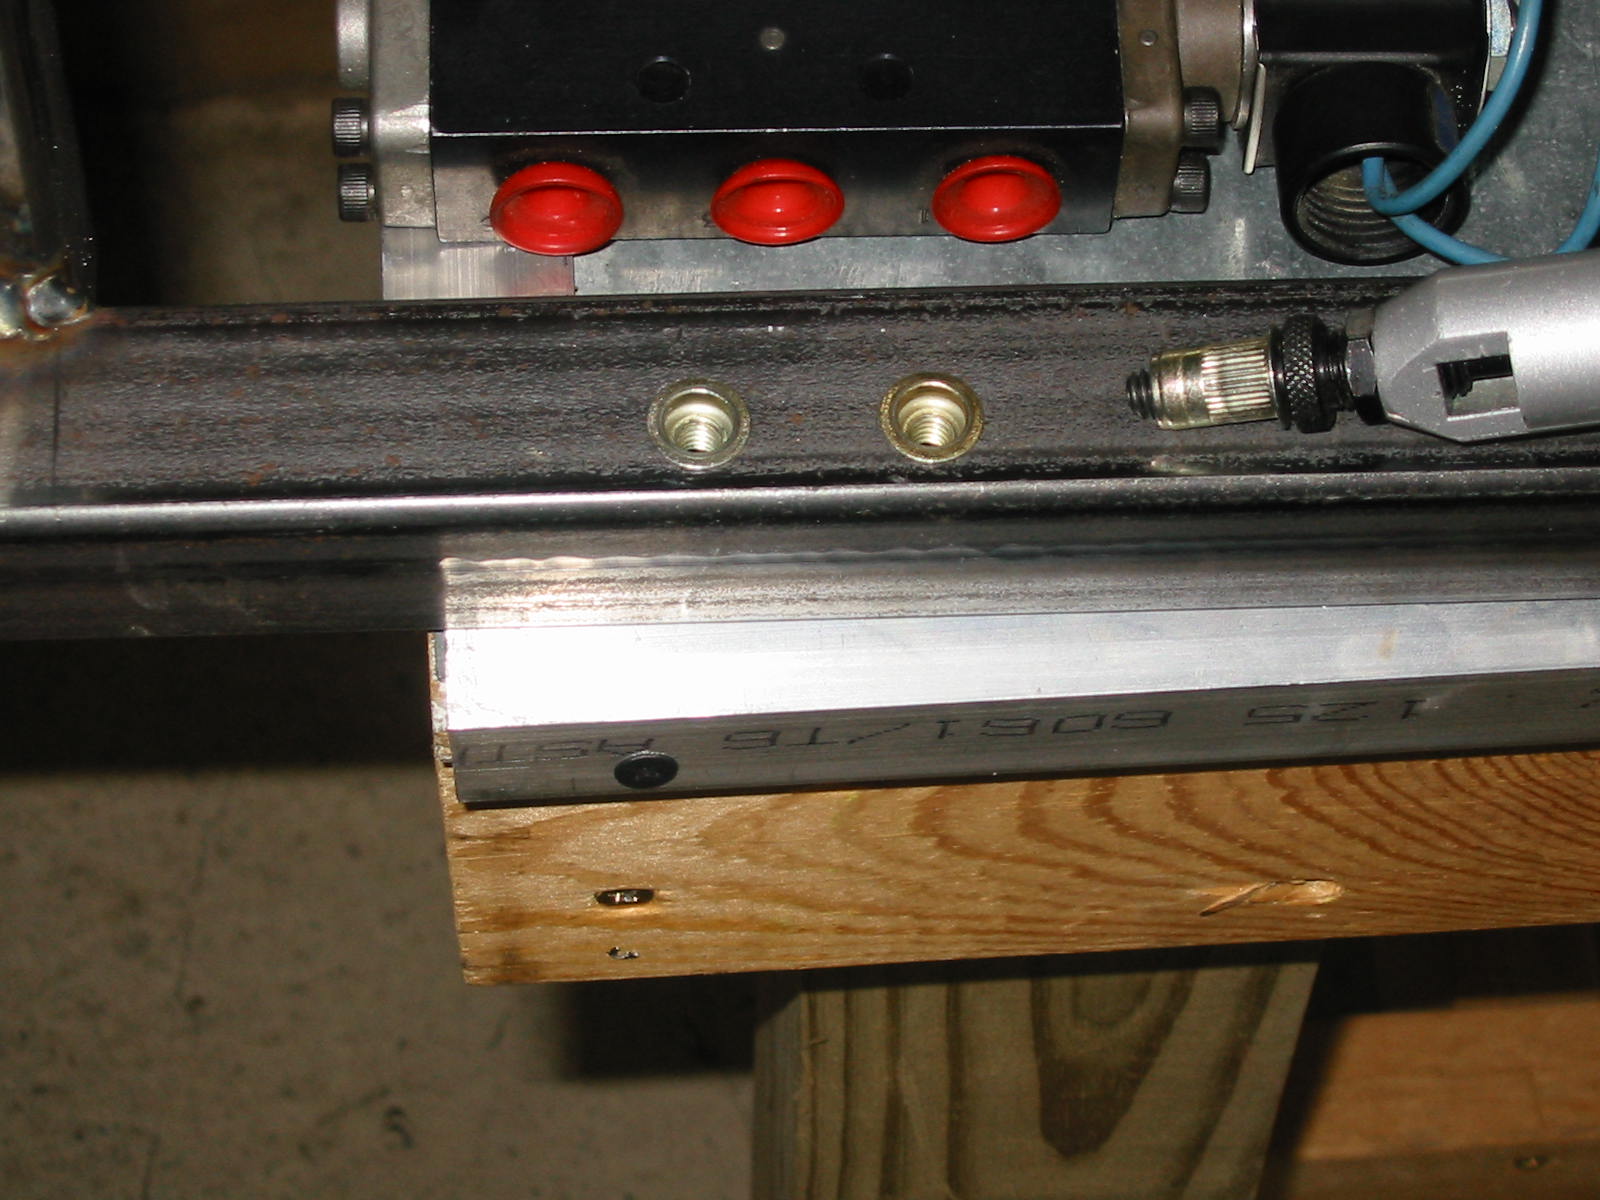
I used a couple of knurled rivet nuts in the side rail to bolt down the air valve.
The air valve I used was a 5 way 2 position version with a 120 vac coil. The 5
way valve allows to have 2 separate air controls on the exhaust ports to
control the lifting speed and the lowering speed. With the skeleton added, I
was running the air pressure to the valve at 50-60 psi. The air cylinder used
is a 2-1/2" bore x 5" stroke.
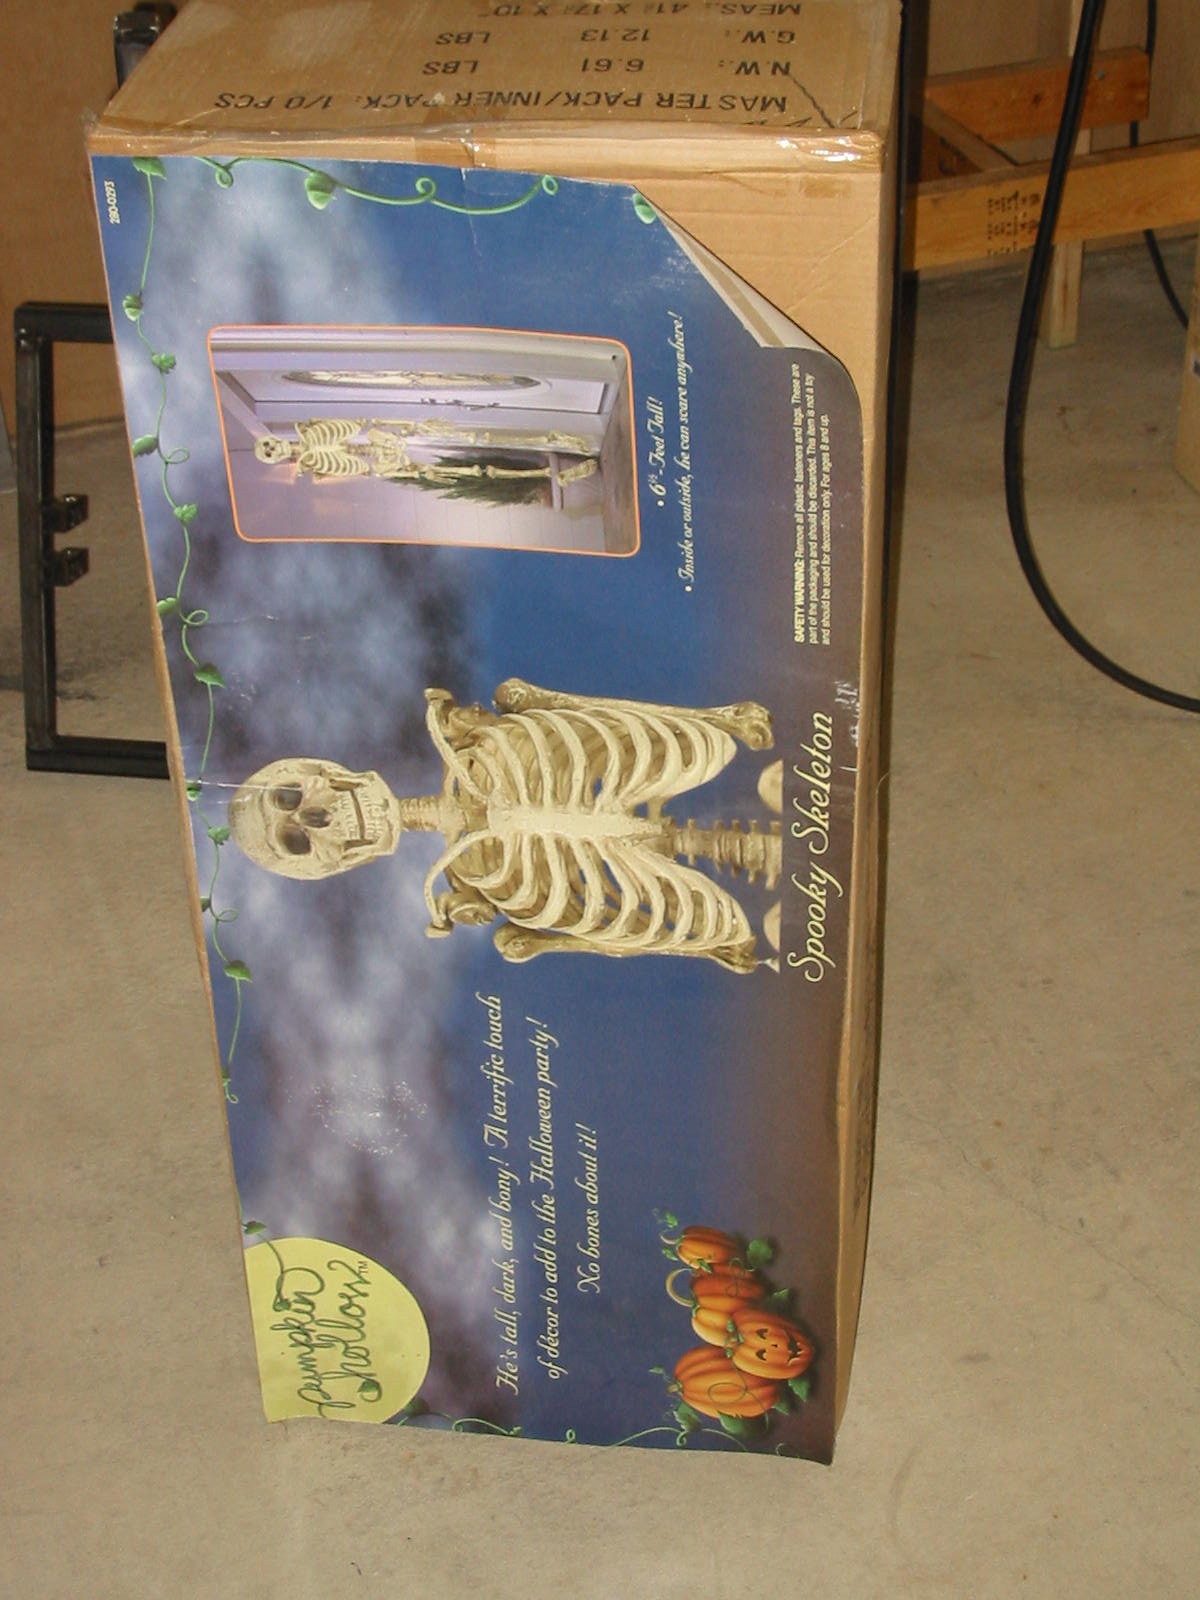
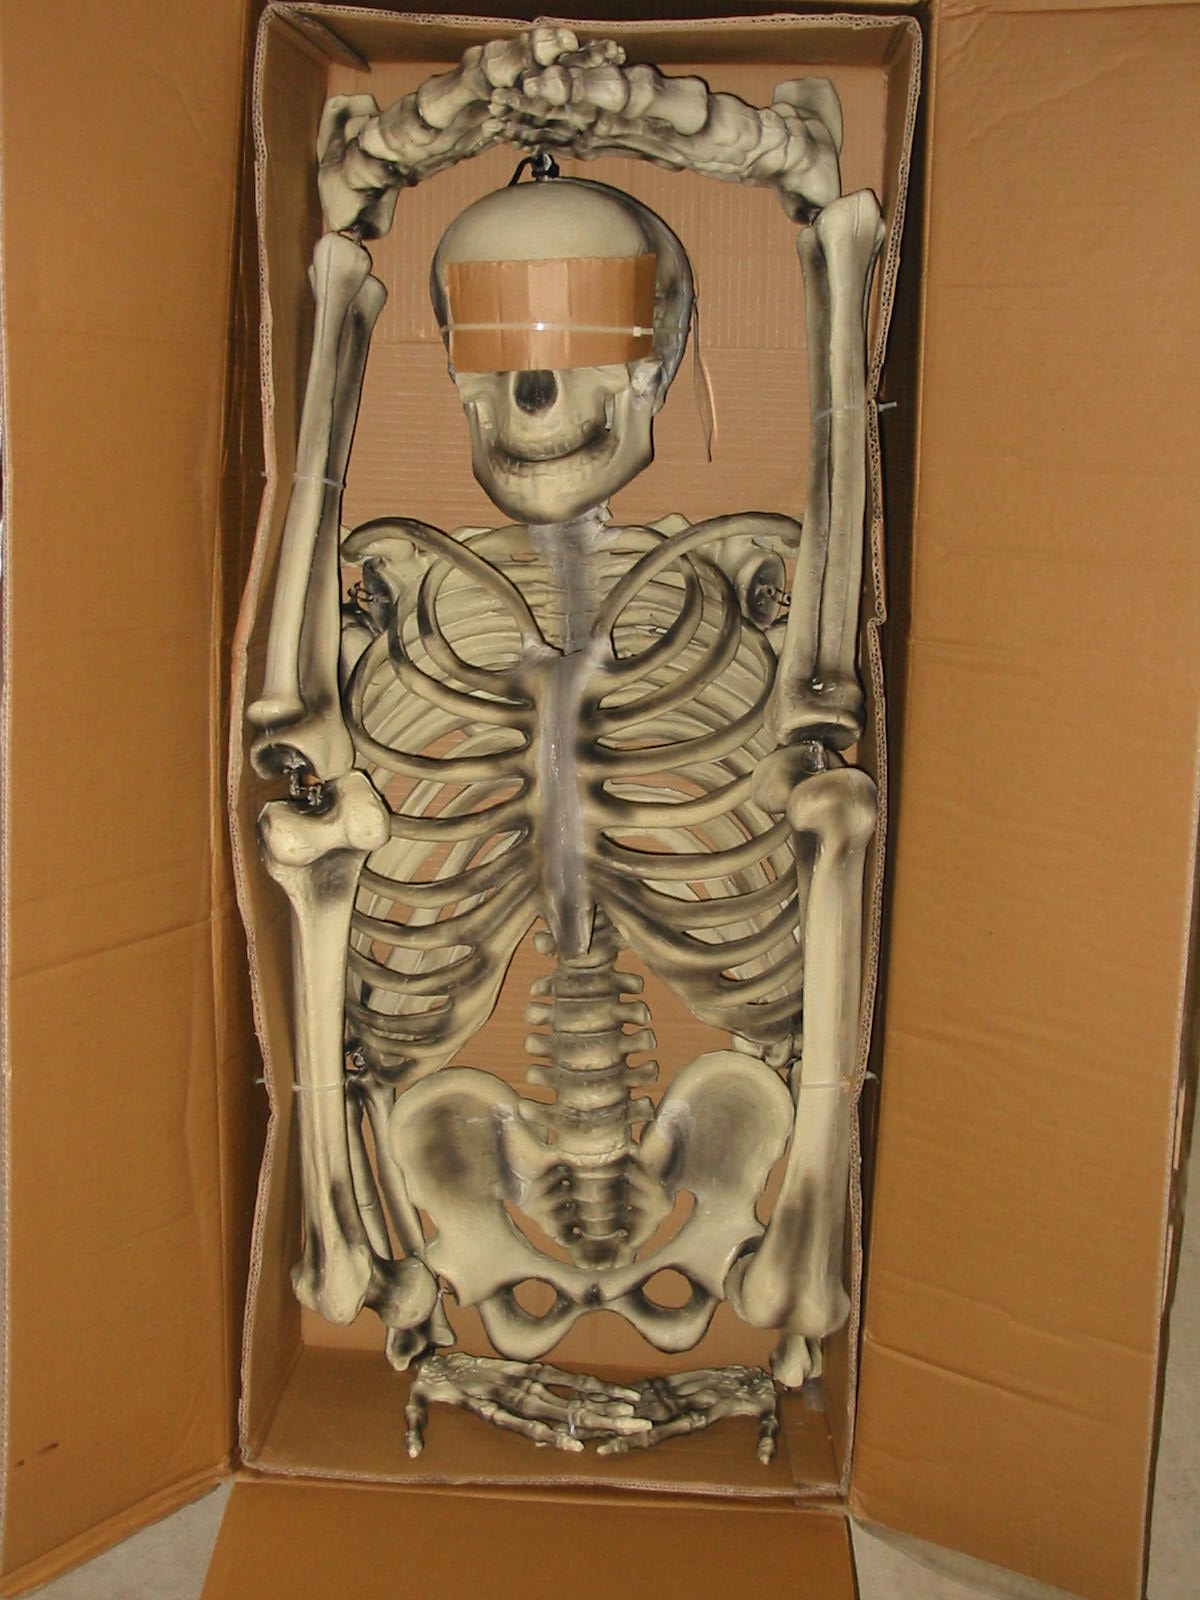
My favorite skeleton to use,
the Menards Hardware store
78" foam skeleton.
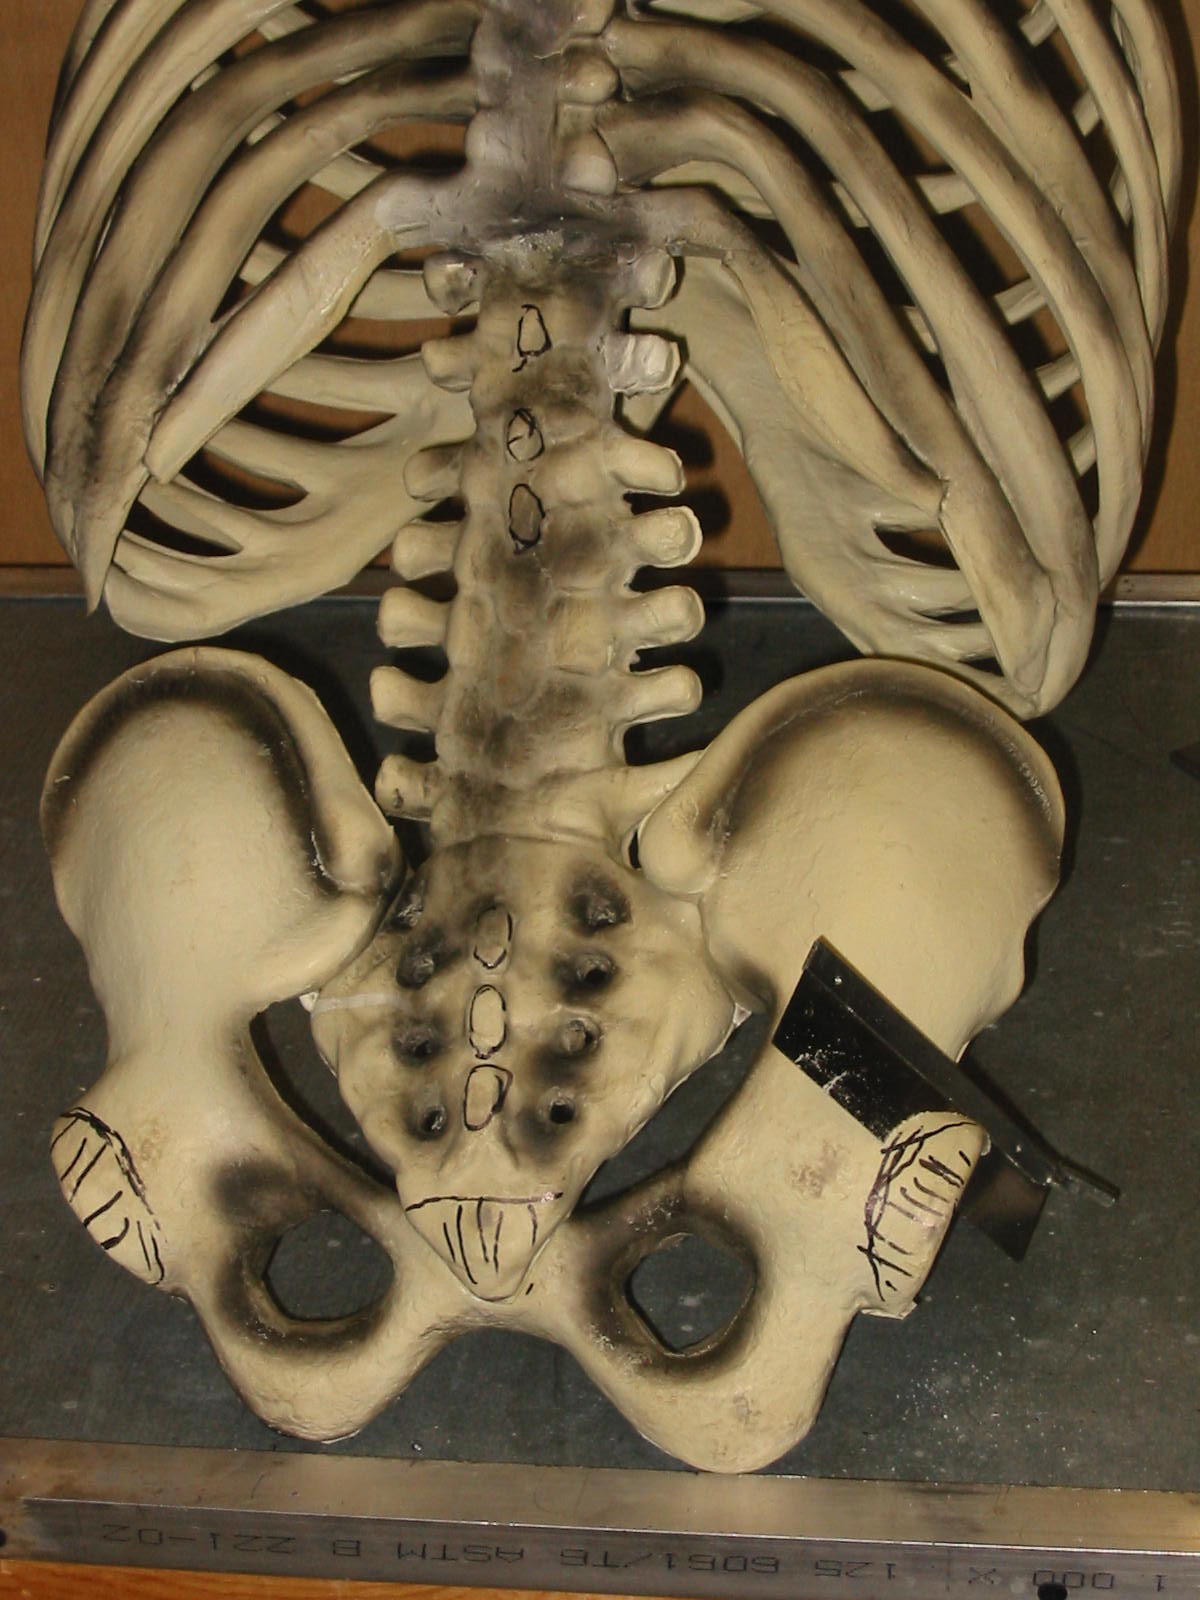
As marked here, some vertebrae bumps, a little bit
of the tail bone and the rear side of the hip sockets
need trimmed to make things fit flatter, better, and to
relieve interference.
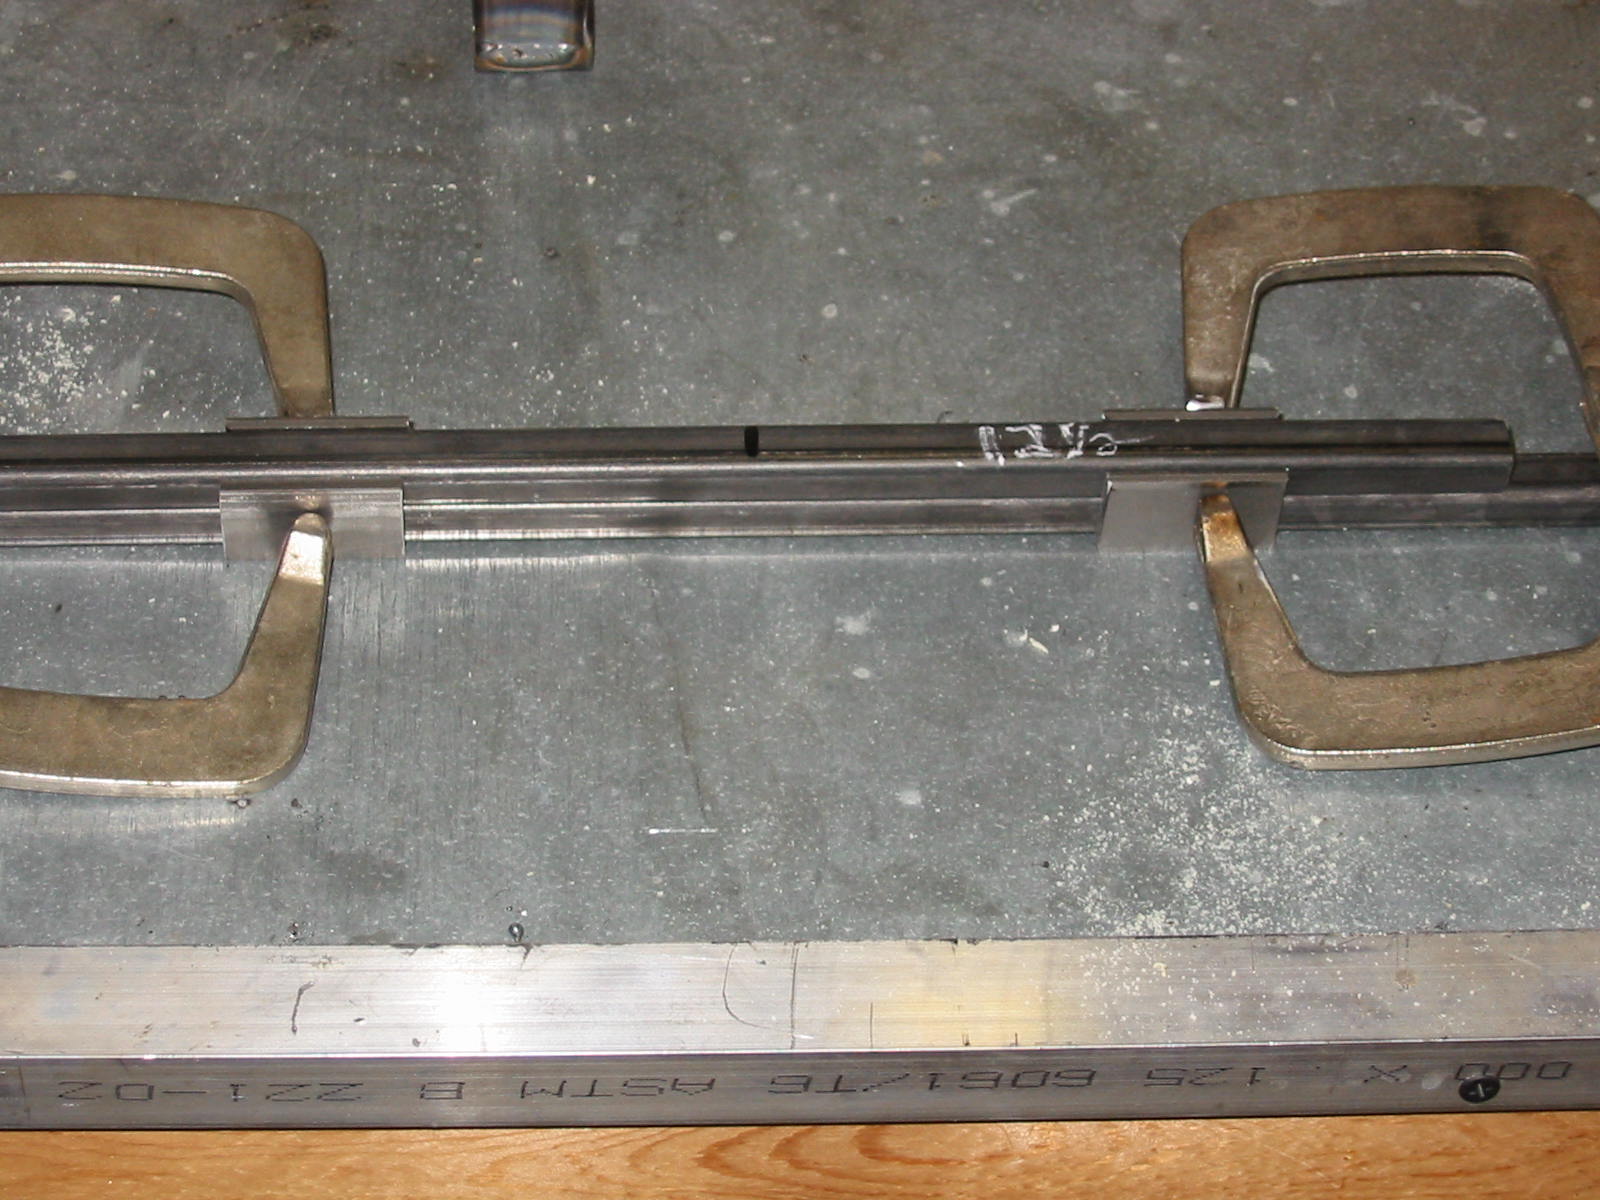
I used a 12-1/2" piece of 1/2"
tubing with 1/8" strips to make
a way to remove the skeleton
arms for storage and if I didn't
like a pose, I could easily just
redo the arm bracket.
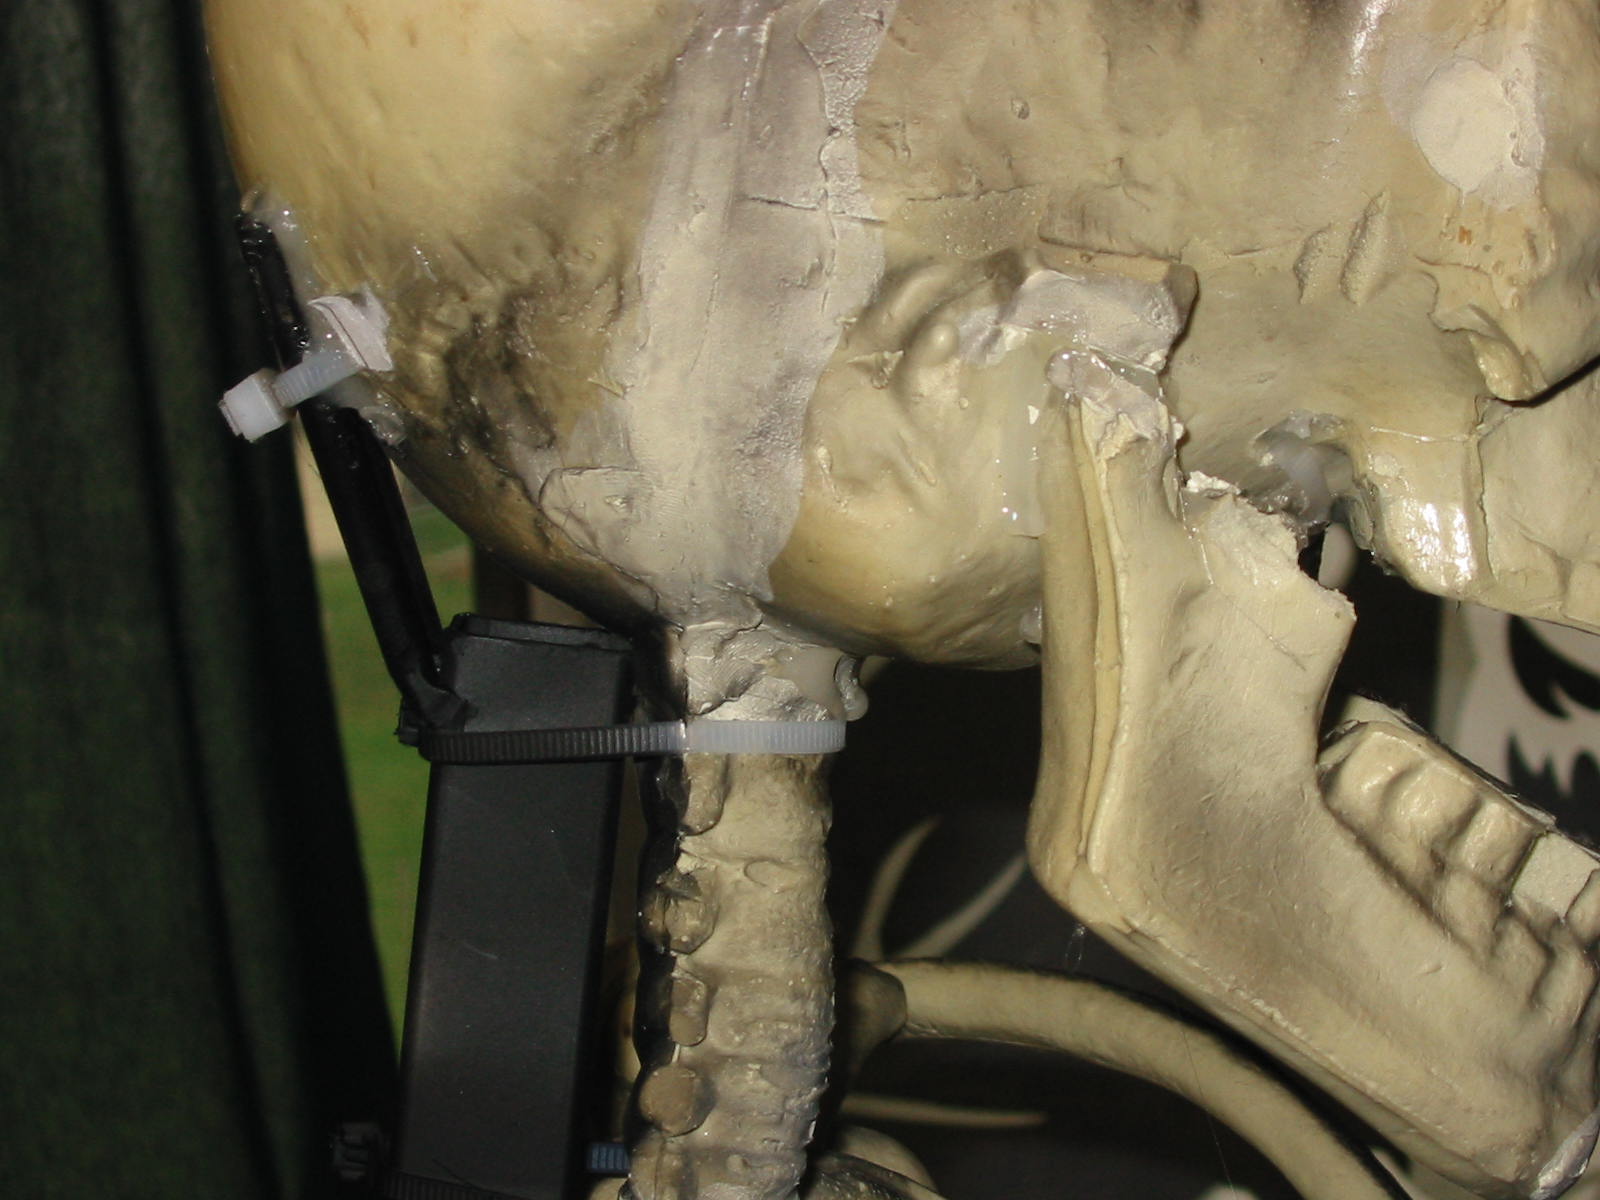
2 - 4" pieces of 1/4" round were welded
in a V fashion to support the head from
thrashing off.
A long zip goes around the V piece thru
a couple drilled holes in the back of the
head and thru a couple holes drilled in
the back of the mouth area for solid
fastening.